Drip bags offer convenience and quality for coffee lovers on the go, and using freshly ground beans takes your brew to the next level. In this guide, we’ll walk you through the simple steps to elevate your drip bag coffee experience. Prepare to indulge in the luxurious scent and robust taste of freshly ground coffee, all within the cosy confines of your home. Let’s get brewing!
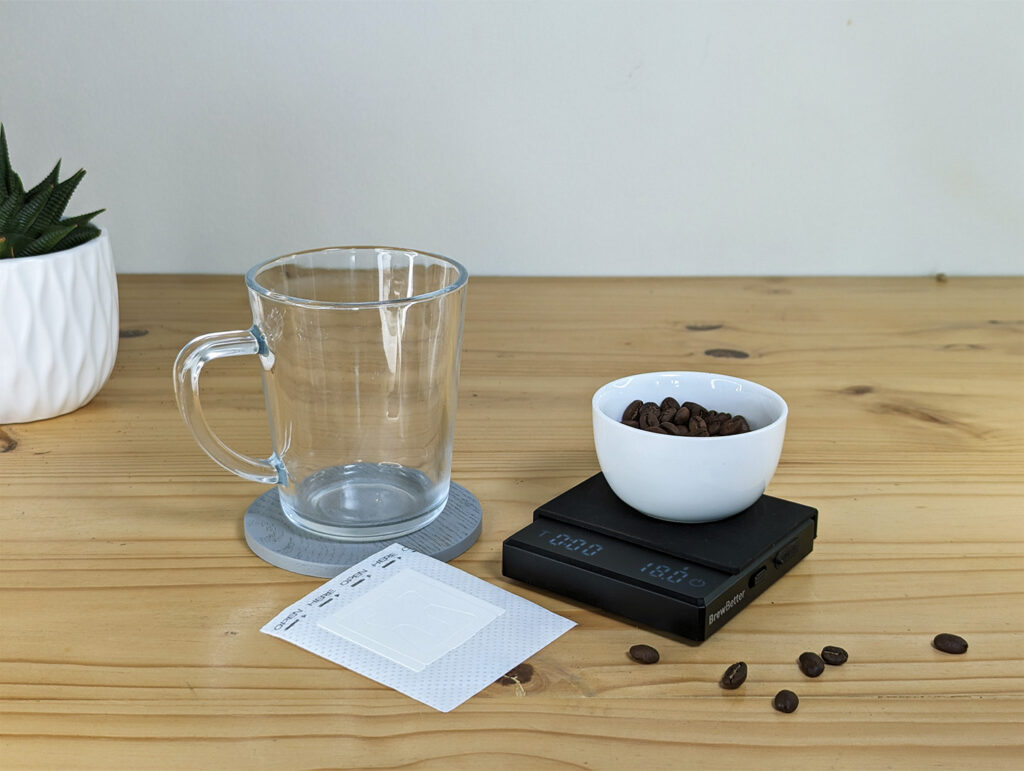
What You’ll Need:
- Freshly Roasted Coffee Beans: 60g of coffee to 1 litre of water or 18g of coffee per 300ml cup.
- Good-Quality Drip Bag
- Grinder: While pre-ground coffee does the trick, grinding your beans right before brewing enhances the freshness and flavour. Investing in a good grinder is inexpensive and absolutely worthwhile.
- Scale: A digital scale ensures accuracy in coffee-to-water ratios. Need a scale? Here’s our suggestion
- Boiling Water: For optimal brewing, use pure, filtered water.
- Your Favourite Coffee Mug: Preferably a tall cup or mug with generous capacity.
If you don’t have a grinder at home, you can get pre-ground coffee from us online or buy beans at any of our physical stores, and we’ll grind them for you on the spot.
Coffee Calculator
Calculate how much coffee you will need based on the size of the cup or carafe you want to use:
Brew Time!
1. The Weight
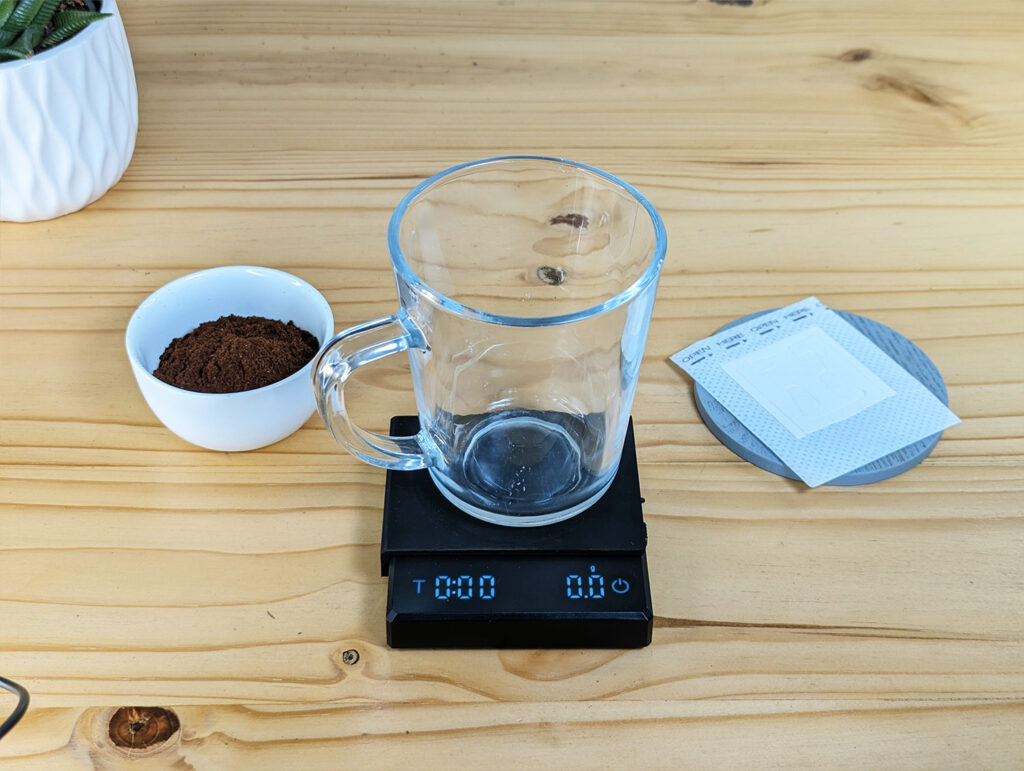
Begin by weighing out your coffee beans according to your desired coffee-to-water ratio. A common recommendation is 1 gram of coffee to 16 grams of water. Adjust to suit your taste preference.
2. The Grind
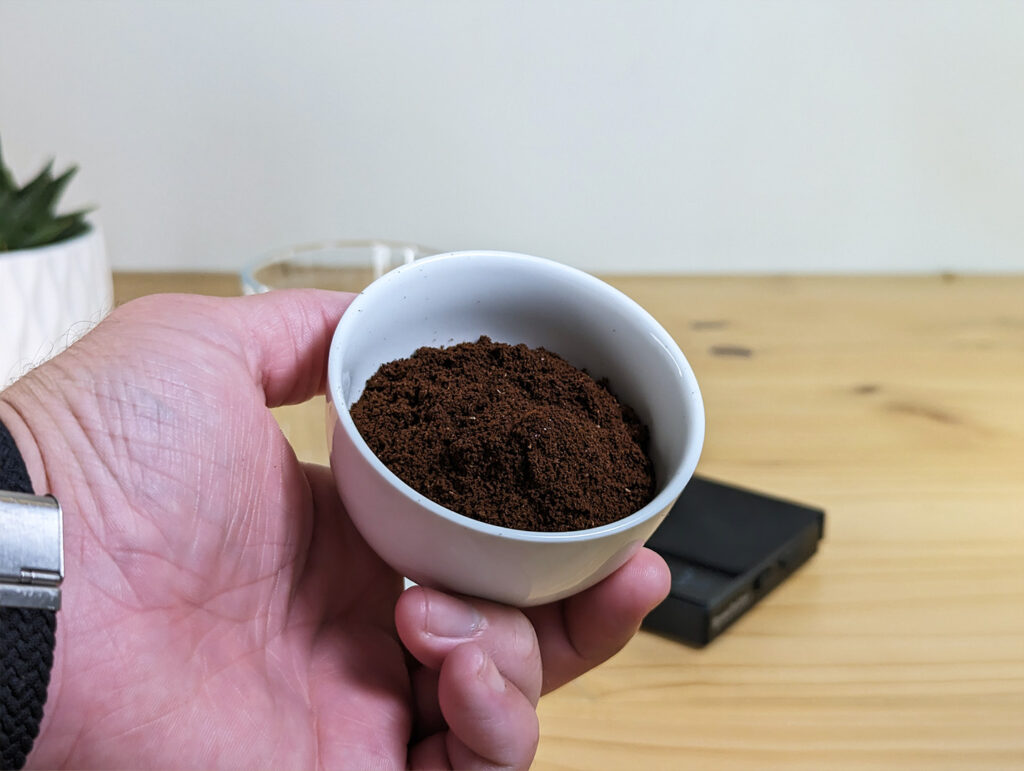
Use a grinder to achieve a medium-coarse consistency. Aim for a texture akin to brown sugar or sea sand, avoiding overly fine grounds. If your coffee is weak or sour, grind it finer. If it’s too bitter, go for a coarser grind.
3. The Water
Determine the exact amount of freshly boiled water needed based on the weight of your coffee. Opt for the hottest water available to counteract cooling during the brewing process.
4. The Placement
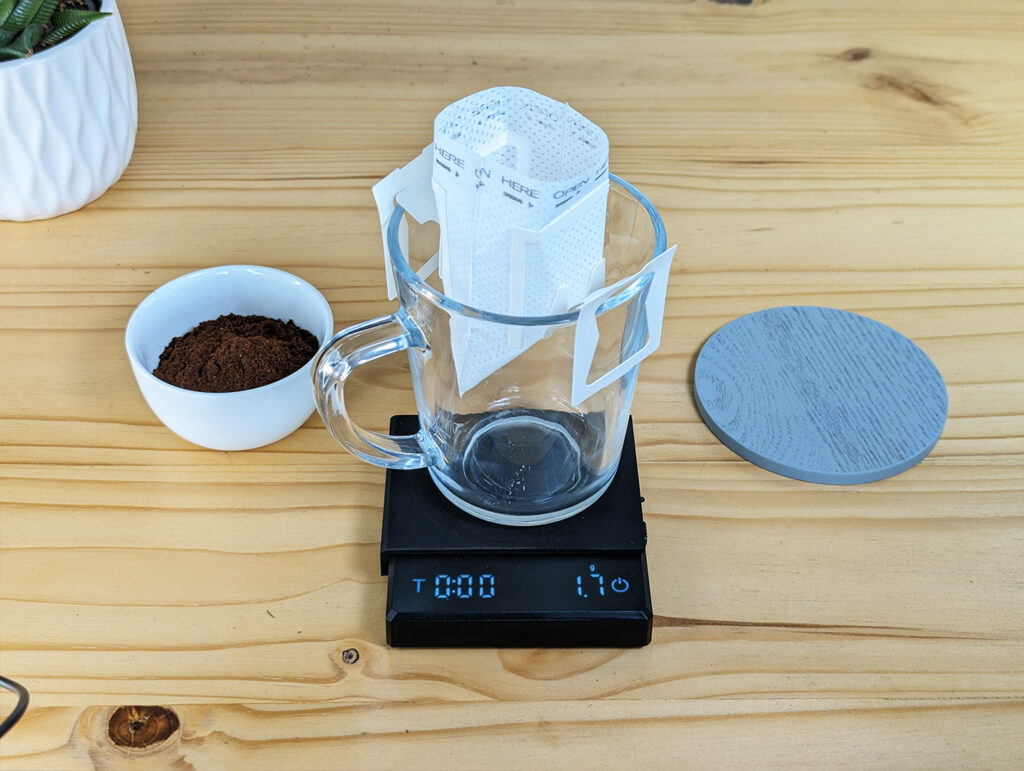
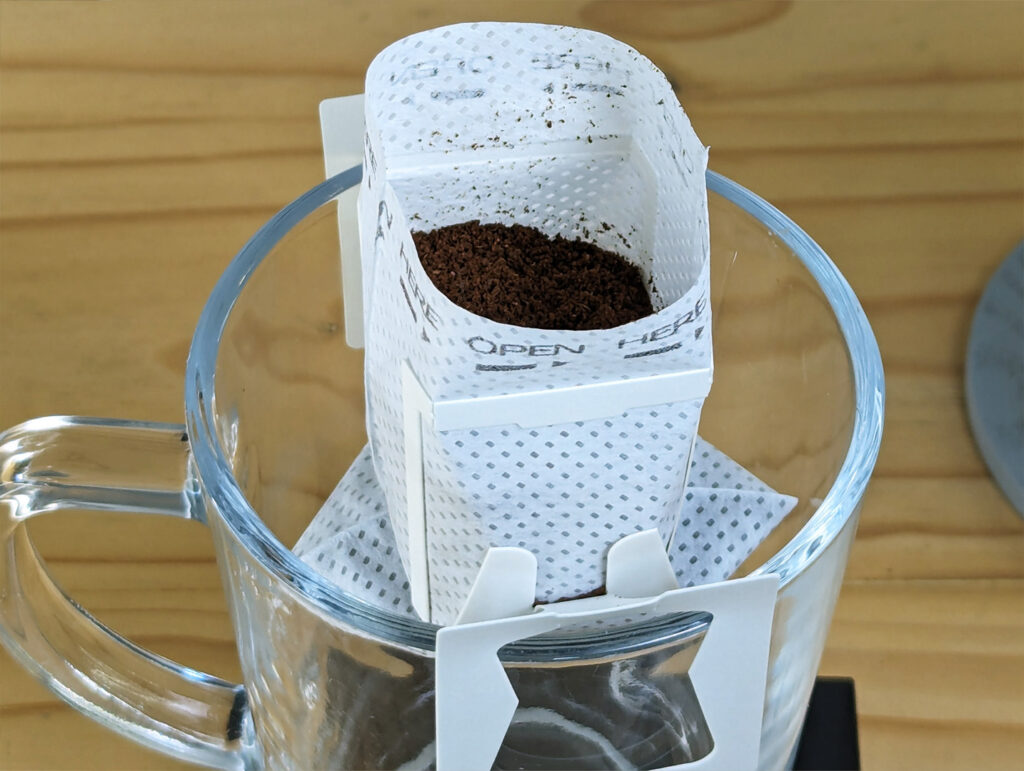
Place your drip bag securely in your cup by pulling on the tabs and positioning them over the rim.
5. The Good Stuff
Carefully add your ground coffee to the drip bag, ensuring none spills into the cup. Scoop slowly and distribute evenly. Give your cup a firm tap to eliminate any air pockets.
6. The Bloom
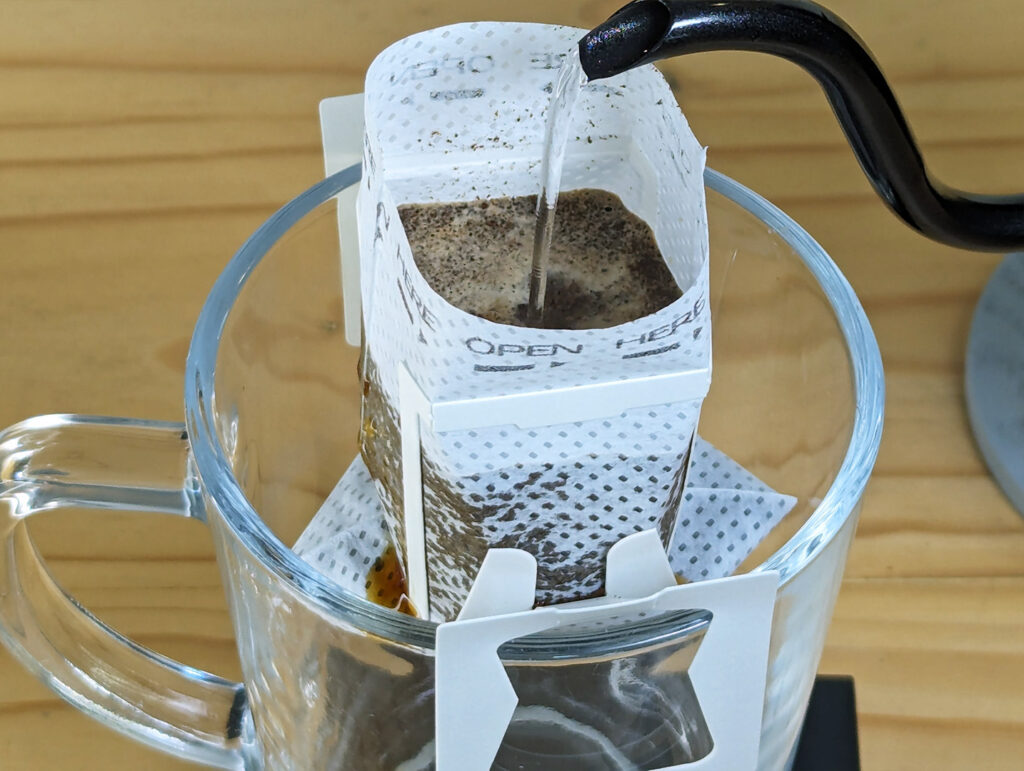
Begin the pouring process with a bloom phase. Using your pourer or kettle, saturate your coffee evenly until the foam layer disappears. This takes roughly 30 seconds.
7. The Pour
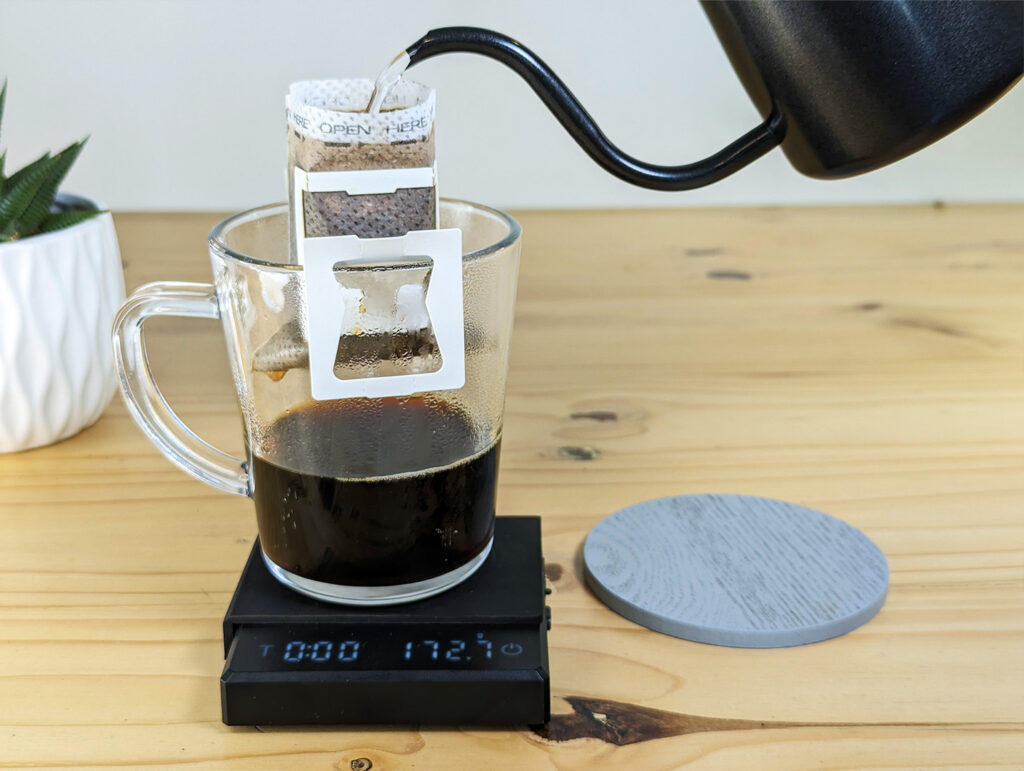
Maintain a steady pour, ensuring the drip bag remains well-filled with water. Avoid overflow by pouring slowly and evenly in a circular motion. Continue pouring until you’ve reached your desired coffee level.
8. The Joy
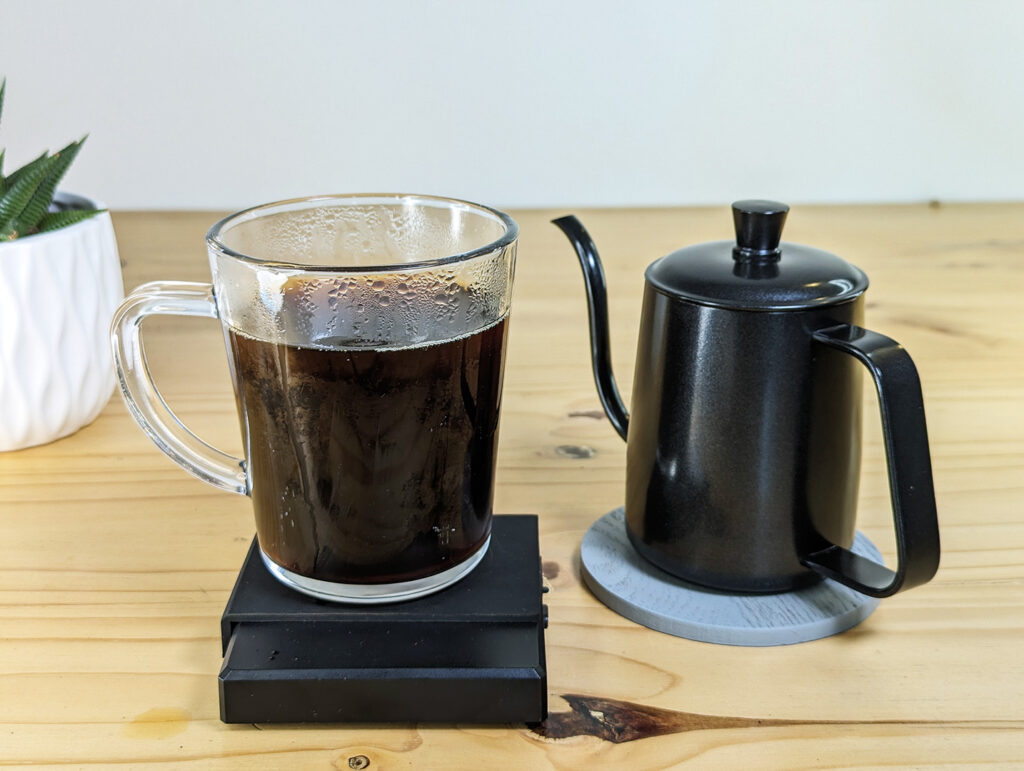
Once the brewing is complete, discard the drip bag. Stir your brewed coffee gently to ensure an even distribution of flavours. It’s as simple as that. Sit back, relax, and savour your freshly brewed cup of coffee!
Some Helpful Tips:
- To get the best results, use freshly ground beans that have been roasted within the last month.
- Use the hottest water possible, as this method is time-consuming and your coffee may cool down.
- Explore various coffee-to-water ratios and grind sizes to uncover your preferred flavour profile.
- Enjoy your coffee soon after brewing for the best flavour experience.
- Remember, each component contributes to the quality of your coffee, so pay attention to detail and enjoy the process of crafting your perfect cup.


