Discover the art of crafting bold, flavorful coffee with the Moka Pot! This ingenious stovetop espresso maker utilises steam and pressure to brew a rich, aromatic cup that rivals your favourite café. The Moka Pot heats water in its bottom chamber, generating steam and pressure. As pressure mounts, it propels hot water up through the coffee grounds in the filter basket, extracting their essence and oils. The brewed coffee then collects in the upper chamber, ready to be poured. It’s a straightforward and effective way to make coffee at home, producing a strong and flavorful brew akin to espresso but not as concentrated. Let’s get brewing!
What You’ll Need:
- Freshly Roasted Coffee Beans: 10 to 15 grams of coffee per 200 ml of water.
- Moka Pot: Also known as a stovetop espresso maker.
- Grinder: While pre-ground coffee does the trick, grinding your beans right before brewing enhances the freshness and flavour. Investing in a good grinder is inexpensive and absolutely worthwhile.
- Scale: A digital scale ensures accuracy in coffee-to-water ratios. Need a scale? Here’s our suggestion
- Hot Water: For optimal brewing, use pure, filtered water.
- Heat Source: A stovetop, gas stove, electric stove or induction cooktop will suffice.
- Coffee Distribution Needle: Helps break up clumps and evenly distribute ground coffee. Need a WDT? Here’s our suggestion
- Your Favourite Coffee Mug(s): Ideally use espresso cups or small mugs.
If you don’t have a grinder at home, you can get pre-ground coffee from us online or buy beans at any of our physical stores, and we’ll grind them for you on the spot.
Coffee Calculator
Calculate how much coffee you will need based on the size of your Moka Pot’s reservoir:
Full Steam Ahead!
1. The Weight
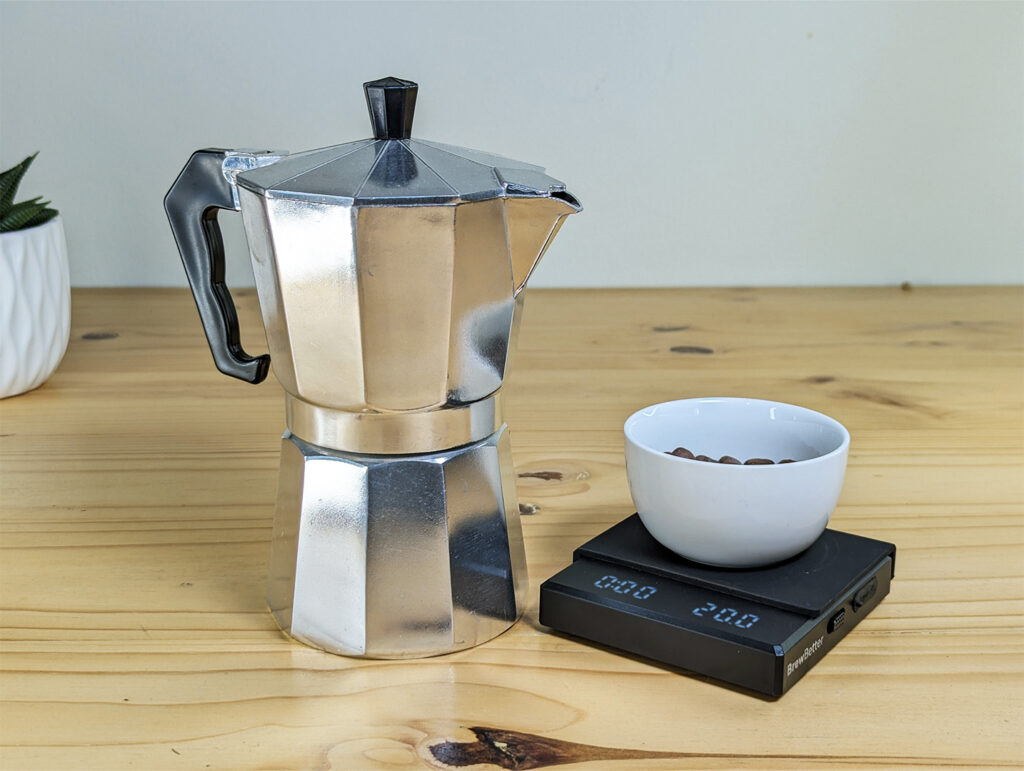
Begin by measuring your coffee beans according to your preferred coffee-to-water ratio. Aim for around 10 to 15 grams of coffee per 200 ml of water, adjusting to suit your taste.
2. The Grind
Grind your coffee beans to a medium-fine consistency, akin to table salt. Too coarse and the water will rush through, resulting in weak coffee; too fine and it may clog the filter, complicating extraction. Freshly ground beans ensure optimal flavour.

3. The Preheat
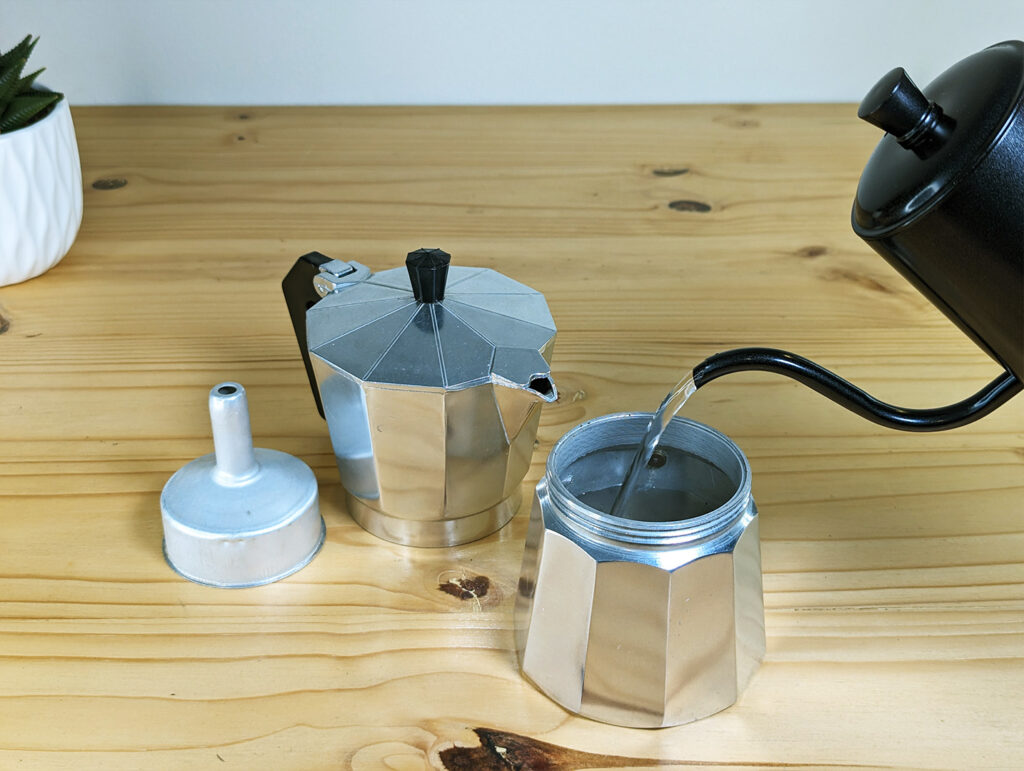
Preheat the water in a separate kettle before pouring it into the Moka Pot. This step expedites brewing and prevents the coffee from enduring prolonged exposure to heat, which can lead to a burnt taste.
4. The Water
Put hot, but not boiling, water into the base of the unit, filling it just below the pressure valve. Avoid overfilling to prevent safety hazards during brewing.
5. The Good Stuff
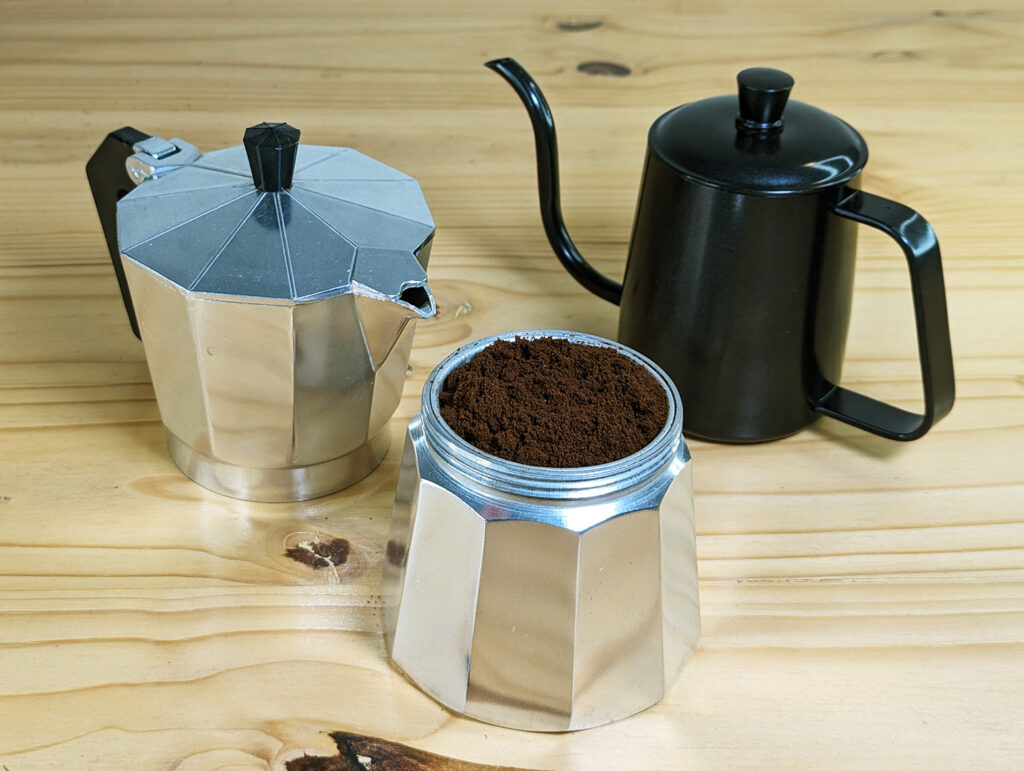
Insert the funnel-shaped filter basket into the bottom chamber. Add the freshly ground coffee to the filter basket, distributing it evenly. Gently tap the basket to settle the coffee, then use a needle distribution tool to eliminate any clumps.
6. The Assembly
Screw the top chamber of the Moka Pot onto the bottom chamber securely. Ensure it’s tightly closed to prevent any leaks or steam escaping during brewing.
7. The Brew
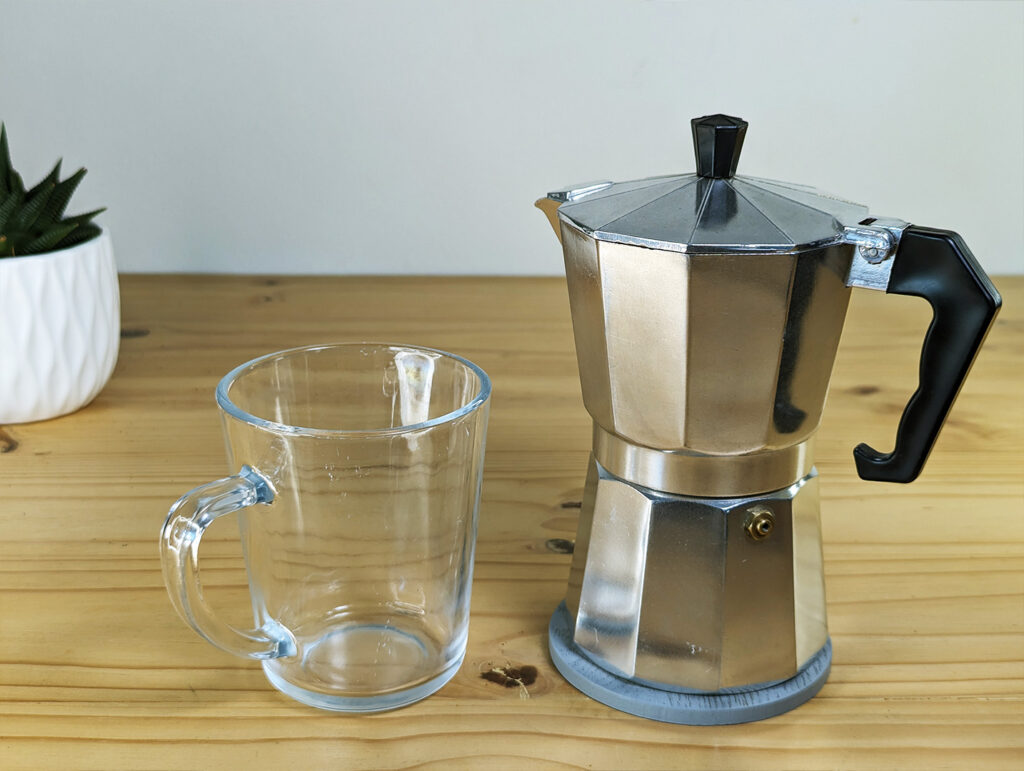
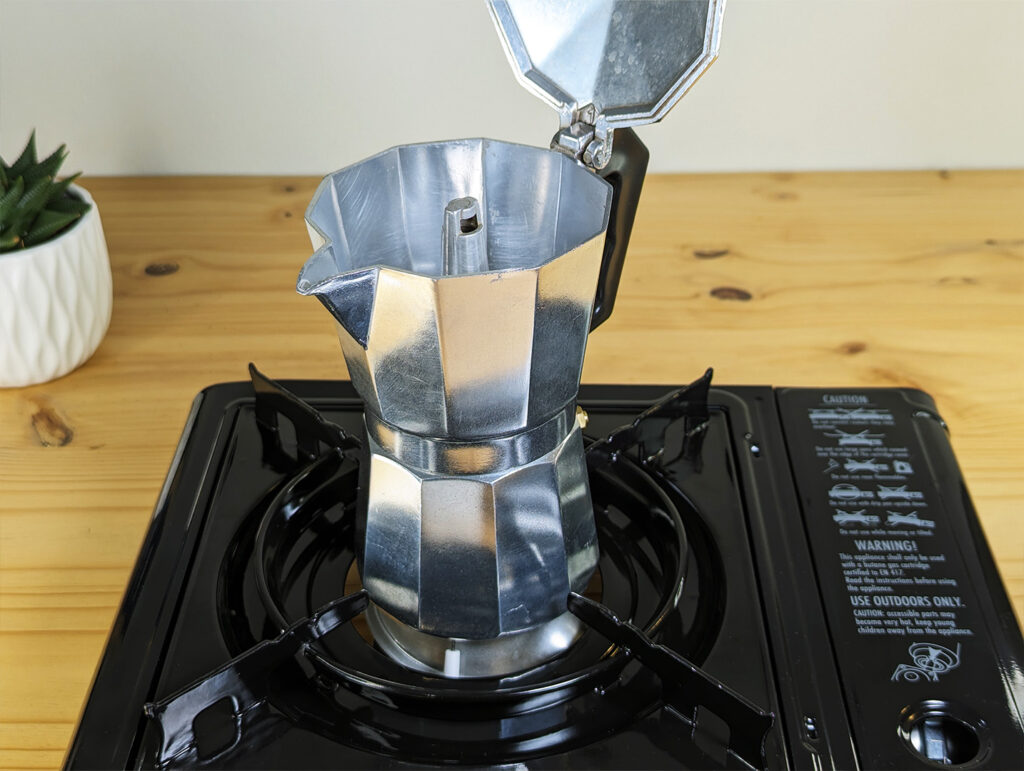
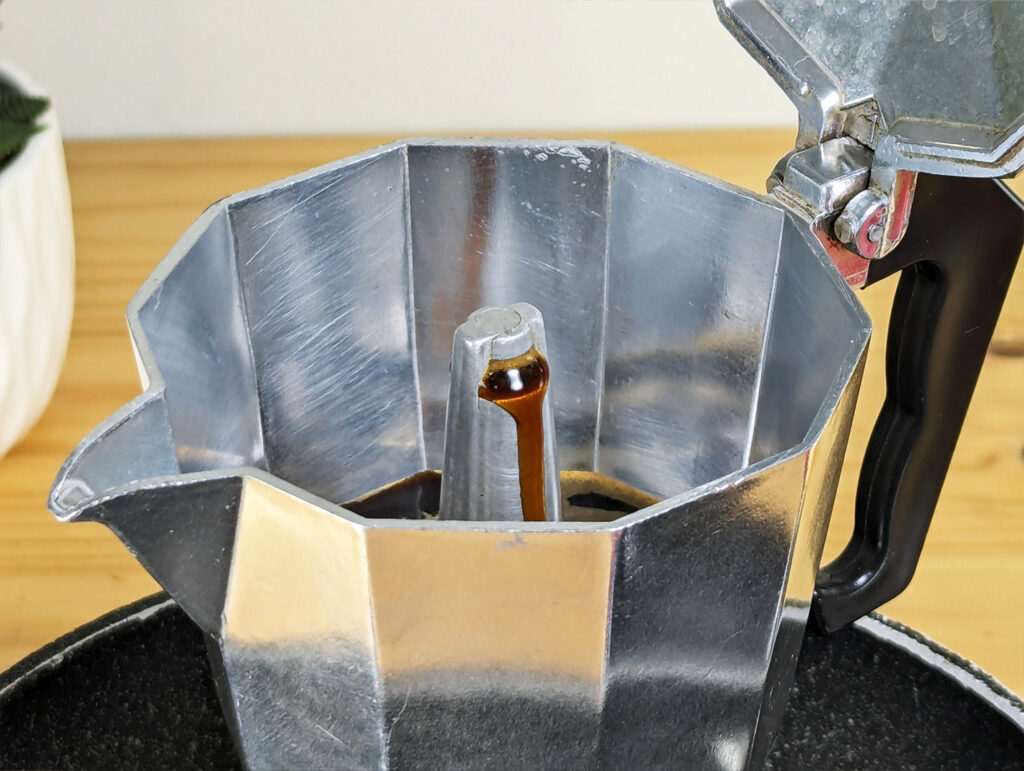
Place the Moka Pot on the heat source over medium heat, leaving the lid open to monitor the process. As the water heats, steam will build, pushing it through the grounds and into the upper chamber. You’ll hear a gurgling sound as the coffee starts to brew.
8. The Cooldown
Time varies depending on the strength of your heat source. Once the upper chamber is filled with brewed coffee, remove the Moka Pot from the heat immediately and run the base under cold water to halt brewing and prevent bitterness.
9. The Joy
Using a towel or oven mitts, carefully unscrew the top chamber and reveal the freshly brewed coffee. Gently stir to evenly distribute flavours, then serve promptly in espresso cups or small mugs. Adjust strength by diluting with hot water if desired.

10. The Aftercare
Once fully cooled, disassemble the Moka Pot and rinse all parts with warm water. Avoid using detergent or abrasive cleaners, as it can damage the pot and leave residue that affects the taste of future brews. Thoroughly dry before reassembling for storage.
Some Helpful Tips:
- To get the best results, use freshly ground beans that have been roasted within the last month.
- Explore various coffee-to-water ratios and grind sizes to uncover your preferred flavour profile.
- Avoid pressing the coffee grounds down too firmly. Level them off with your finger or a flat edge, ensuring even extraction.
- Use medium-low heat. Too high heat can lead to burnt coffee, while too low heat can cause the extraction process to take too long, resulting in over-extraction.
- Preheat the water before filling the bottom chamber to speed up the brewing process and prevent overheating the coffee.
- Regularly clean your Moka Pot to prevent any buildup of oils or coffee residue that can affect the taste of your brews.
- Enjoy your coffee soon after brewing for the best flavour experience.
- Remember, each component contributes to the quality of your coffee, so pay attention to detail and enjoy the process of crafting your perfect cup.


